Self-Adhesive Flooring: A Substrate Flatness Buyer Checklist
Updated:
Prepare a flatness and surface-condition brief for self-adhesive flooring, separate visual approval and confirm the exact installation requirements.
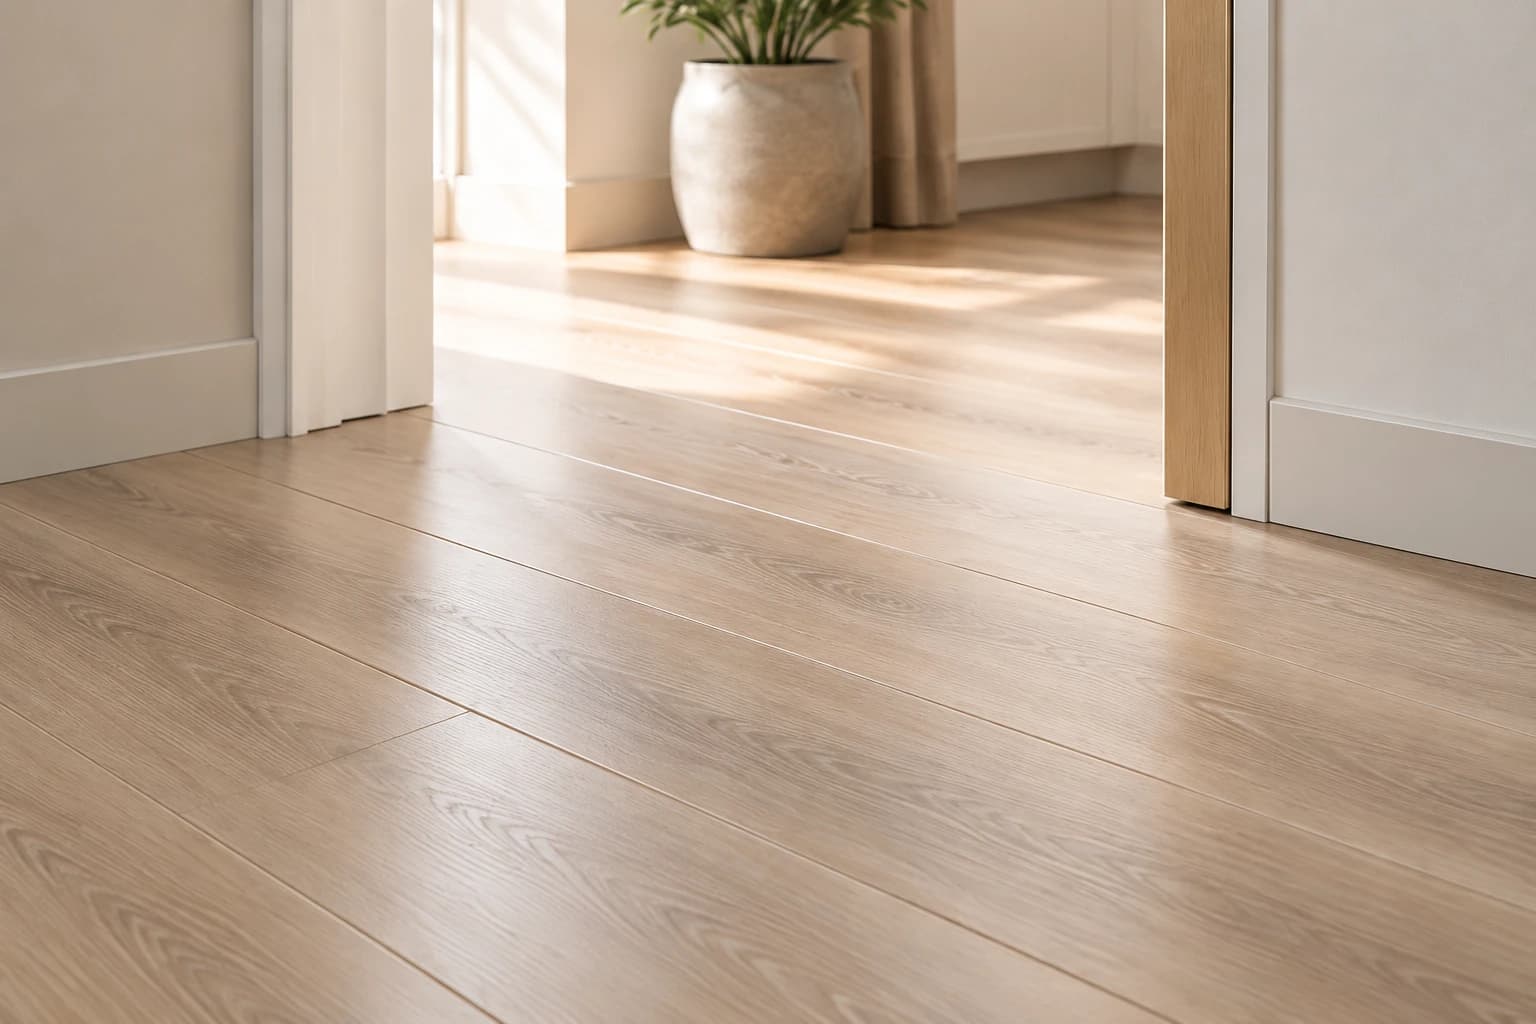
Why does substrate flatness matter for self-adhesive flooring?
A self-adhesive backing does not remove the need to assess the floor underneath. Before approving an order, buyers should request the exact product's substrate requirements and a site assessment covering flatness, surface condition and any existing covering. A decorative sample cannot demonstrate that the installed floor will conceal an uneven base.
This guide focuses on the flatness brief and approval handoff. Our separate primer checklist addresses compatibility questions. Neither article supplies installation tolerances for SZ STRONG BUILD products or replaces the proposed flooring's current instructions.
1. Describe the existing floor accurately
Ask the installer to identify the substrate and record the condition of the existing covering, including visible joints, local depressions, raised edges and previous repairs. Link dated photographs to marked locations. Avoid using one close-up image as proof that the whole room has been assessed.
Make clear whether a photograph shows bare concrete, a patching layer or existing tiles. Different surfaces can look similar in a quotation attachment. A shared description helps the supplier understand the proposal and lets the project team identify information that still needs a site visit.
Use SZ-FL001 self-adhesive floor planks as the product reference for this record. Connect the findings to floor material and site checks before preparing the enquiry.
| Record field | What to enter | How it supports the decision |
|---|---|---|
| Room / grid point | Room reference and marked measurement location | Links each reading to the room plan |
| Method and tool | Tool, measurement span and method used | Makes readings interpretable and repeatable |
| Reading | Measured gap or deviation, with units and direction | Records actual results rather than a visual judgement |
| Acceptance reference | Exact flooring instruction, revision and applicable tolerance | Uses the selected product’s requirement; no universal limit is assumed |
| Correction and recheck | Repair location, preparation product and repeat reading | Shows which areas need work and whether they were reassessed |
| Reviewer | Name, date and remaining actions | Keeps responsibility and open decisions visible |
2. Separate flatness, smoothness and appearance
Flatness and surface texture need their own acceptance questions. Ask the responsible installer which measurement method and limits the exact flooring instructions require, and where readings should be recorded. A surface can look attractive in a photograph while still needing preparation.
Flexco's LVT and LVP installation instructions discuss substrate preparation and treatment of existing tile joints. These instructions cover the flooring systems named in that guide, not universal tolerances or approval for SZ self-adhesive flooring. Obtain the corresponding requirements for the product actually offered.
Tarkett's general vinyl-installation guidance also distinguishes installation methods and discusses telegraphing, where underlying tile joints can become visible through a vinyl surface. Its examples should prompt a question about your proposed construction, rather than a promise that every vinyl product behaves the same way.
3. Agree the substrate review before installation
Send the proposed flooring reference and site record to the supplier and installer together. Ask for a written preparation proposal that identifies any repair or smoothing products, their compatibility and who accepts the finished substrate. Do not assume that adding primer alone corrects an uneven floor.
Keep these decisions separate from decorative approval. A colour or grain sample can support the visual selection, while substrate acceptance remains pending. Record both statuses so a visually approved finish is not mistaken for permission to install.
- Which exact flooring reference and installation guide apply?
- What flatness and surface-condition checks must be documented?
- How will existing joints and local irregularities be assessed?
- Who approves the proposed preparation materials and sequence?
- Who signs off the prepared substrate before installation begins?
4. Keep a clear handoff record
Use one measurement-record row per marked location. Keep the initial reading and the recheck together so a repair in one room is not treated as evidence for another.
FAQ: Can a primer replace smoothing work?
Do not treat primer and substrate correction as interchangeable. Ask the proposed system's manufacturer and installer to confirm the role of each preparation step for the actual floor.
FAQ: Can an existing tile floor always stay in place?
No universal approval applies. Check the condition of the tiles, the proposed installation method and the exact flooring instructions. Keep the decision pending when the existing construction has not been assessed.
Prepare a flooring enquiry
Attach the marked room plan, measurement method, recorded deviations and repair-and-recheck results. Identify each remaining location requiring work, using the selected flooring instructions as the acceptance reference.
For the related decision, use the primer compatibility matrix.